
September flatters a roof. The light is golden, the days are long, and from the garden path everything looks sound. Then the first Atlantic storm arrives and the same roof starts dripping onto a bedroom ceiling. What separates those two outcomes is rarely luck. It is a few hours of work, done in the right order and at the right time of year.
Roofs and gables fail in winter for predictable reasons: water that cannot drain away, sealant that has hardened, mortar that has cracked, timber that has been quietly rotting since spring. The calendar below takes each of those in turn.
Begin with binoculars and a slow walk around the property. You are looking for anything that has moved since spring.
Then go inside and take a torch into the loft. Look for daylight between rafters, dark tide marks on the underside of the roofing felt, and damp patches on a chimney breast. Check the ceilings of top-floor rooms and the corners nearest the gable walls. Photograph anything you are unsure about; a roofer can often diagnose a fault from a clear image, and you will know by spring whether it has grown.
Half-round and ogee gutters work in the same simple way: they need slope, capacity and a clear outlet. Once a run is half full of leaves and moss, heavy rain sheets straight down the wall instead, soaking brickwork, render and window reveals.
Take these up with you:
Work in short sections: scoop, flush, and watch where the water goes. If a downpipe gurgles and backs up, the blockage is usually at the hopper or the first bend rather than at ground level. A run that still holds standing water after rain has lost its fall and needs re-fixing, not another clean.
If your gutters sit above first-floor level, or you are not steady on a ladder, book someone with a tower scaffold. No blocked downpipe is worth a fall.
Flashings keep water out where the roof meets something else, which is why so many leaks start at them. Check:
Lead expands and contracts with temperature, so hairline cracks at a bend are common after a hot summer. Short runs are usually straightforward to repair, but do the work before the frost sets in; cold lead is far less forgiving. Chimneys deserve their own visit. If the stack is leaning or the mortar is crumbling, leave it to a specialist.
Gable ends take the worst of the weather. Wind drives rain sideways into the wall, and any weakness in the surface will find it.
Look closely at the pointing. Cracked or missing mortar should be raked out and repointed in dry weather, using a mix appropriate to the wall. On older brickwork, a mortar softer than the brick itself is usually the right choice, so moisture can evaporate rather than being trapped. Tap the render with a screwdriver handle: a hollow ring means a section has come away and will need cutting back and repairing.
Prod the lower edges with a screwdriver. If the blade sinks in easily, the timber is soft and will only get softer. Prepare and paint bare or flaking areas while temperatures are still mild; most exterior paints want two dry days, so check the tin before you start.
Keep them clear, and make sure loft insulation has not been pushed into the eaves and blocked the ventilation path.
After a gale, look from the ground before you go anywhere near a ladder. Ridge tiles sitting proud, a run of gutter hanging loose, a dish at an odd angle. If water appears indoors, move furniture and put a bucket under the drip, keeping it away from lights and sockets. If a ceiling is bulging with trapped water, keep clear and call someone; standing underneath it with a screwdriver is a bad trade.
Never go up in wind, rain or frost. Cold tiles are brittle, ladders slip, and cold hands miss things. Wait for a dry, still day, or pay someone who does this every week.
Inside, lag any loft pipework before the first hard frost. A cold, well-ventilated roof space is a dry one; a warm, sealed one grows mould on the felt and rots the timbers around it.
Re-roofing, chimney work, structural repairs, anything needing scaffold, and any leak you have failed to trace twice are jobs for a professional. Anyone working at height on your property should be competent and insured, and it is reasonable to ask to see evidence of both before work starts. Get a written quote that names materials, and be wary of a price offered before anyone has properly looked at the roof. A good roofer will also tell you when a repair is enough and replacement can wait.
Do these in the right month and winter becomes something you notice from indoors rather than from under a bucket. Anything that looks beyond you is best left for a dry day and a qualified pair of hands.
Photo: Konstantin Khrustov / Pexels
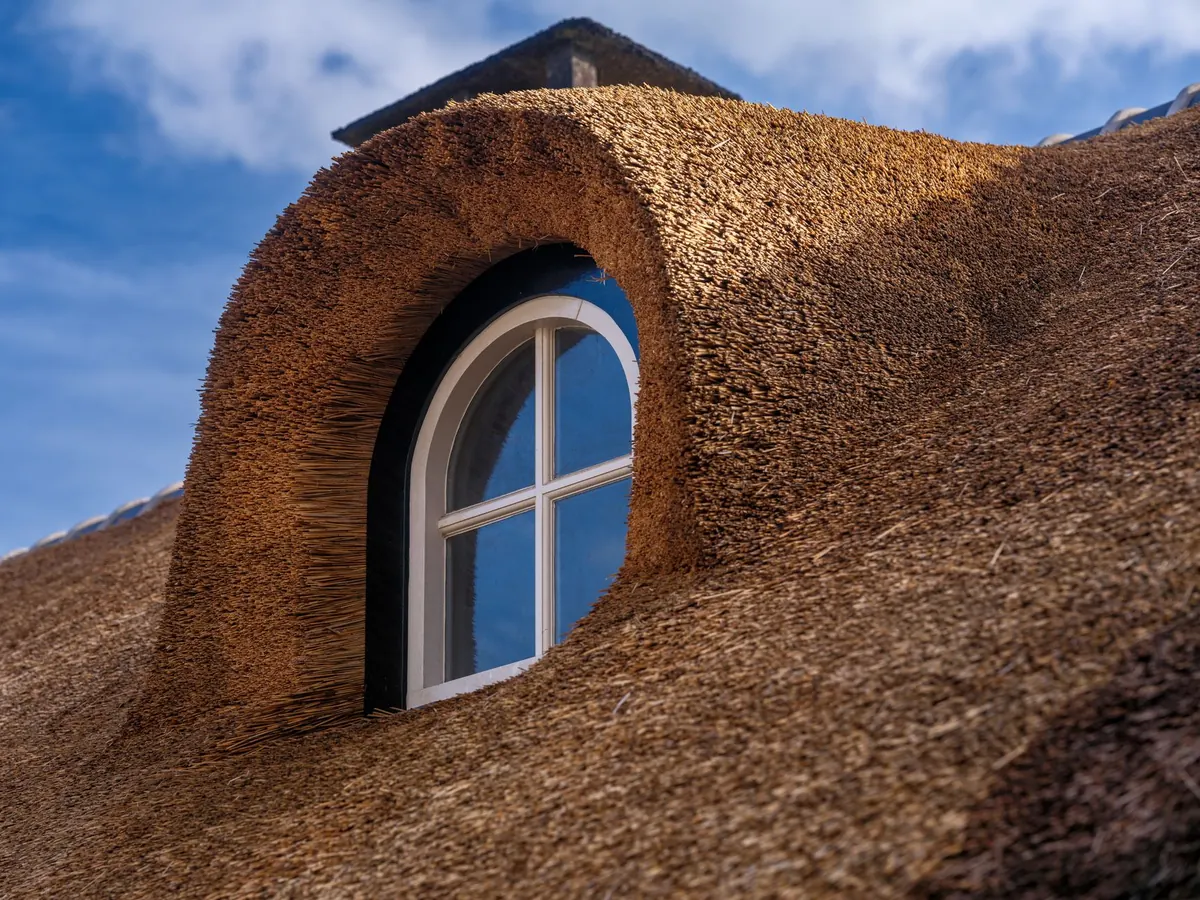
Gable and dormer loft conversions add space in different ways — here's how they compare on headroom, cost, planning...
A practical guide to measuring rise and run on a gable roof, converting them into degrees, and choosing a pitch that...

Yorkshire's stone gables, copings and kneelers do more than keep the rain out — they shape how a house reads from...

Exploring gables, roofs and architectural design..
